
TORONTO · ETOBICOKE · GTA
Bathroom & Shower Tile Installation Toronto
A bathroom renovation brings several decisions together in a small space: where water lands, how storage fits into the walls, and how the floor meets the rest of the home. EM Tile provides bathroom and shower tile installation in Toronto, Etobicoke and the GTA. Start with the room arrangement and chosen material so the installation can be discussed as a complete assembly, rather than a collection of separate tiled surfaces. Planning tile installation in Etobicoke? Explore local bathroom examples and service information.
Discuss your project ↗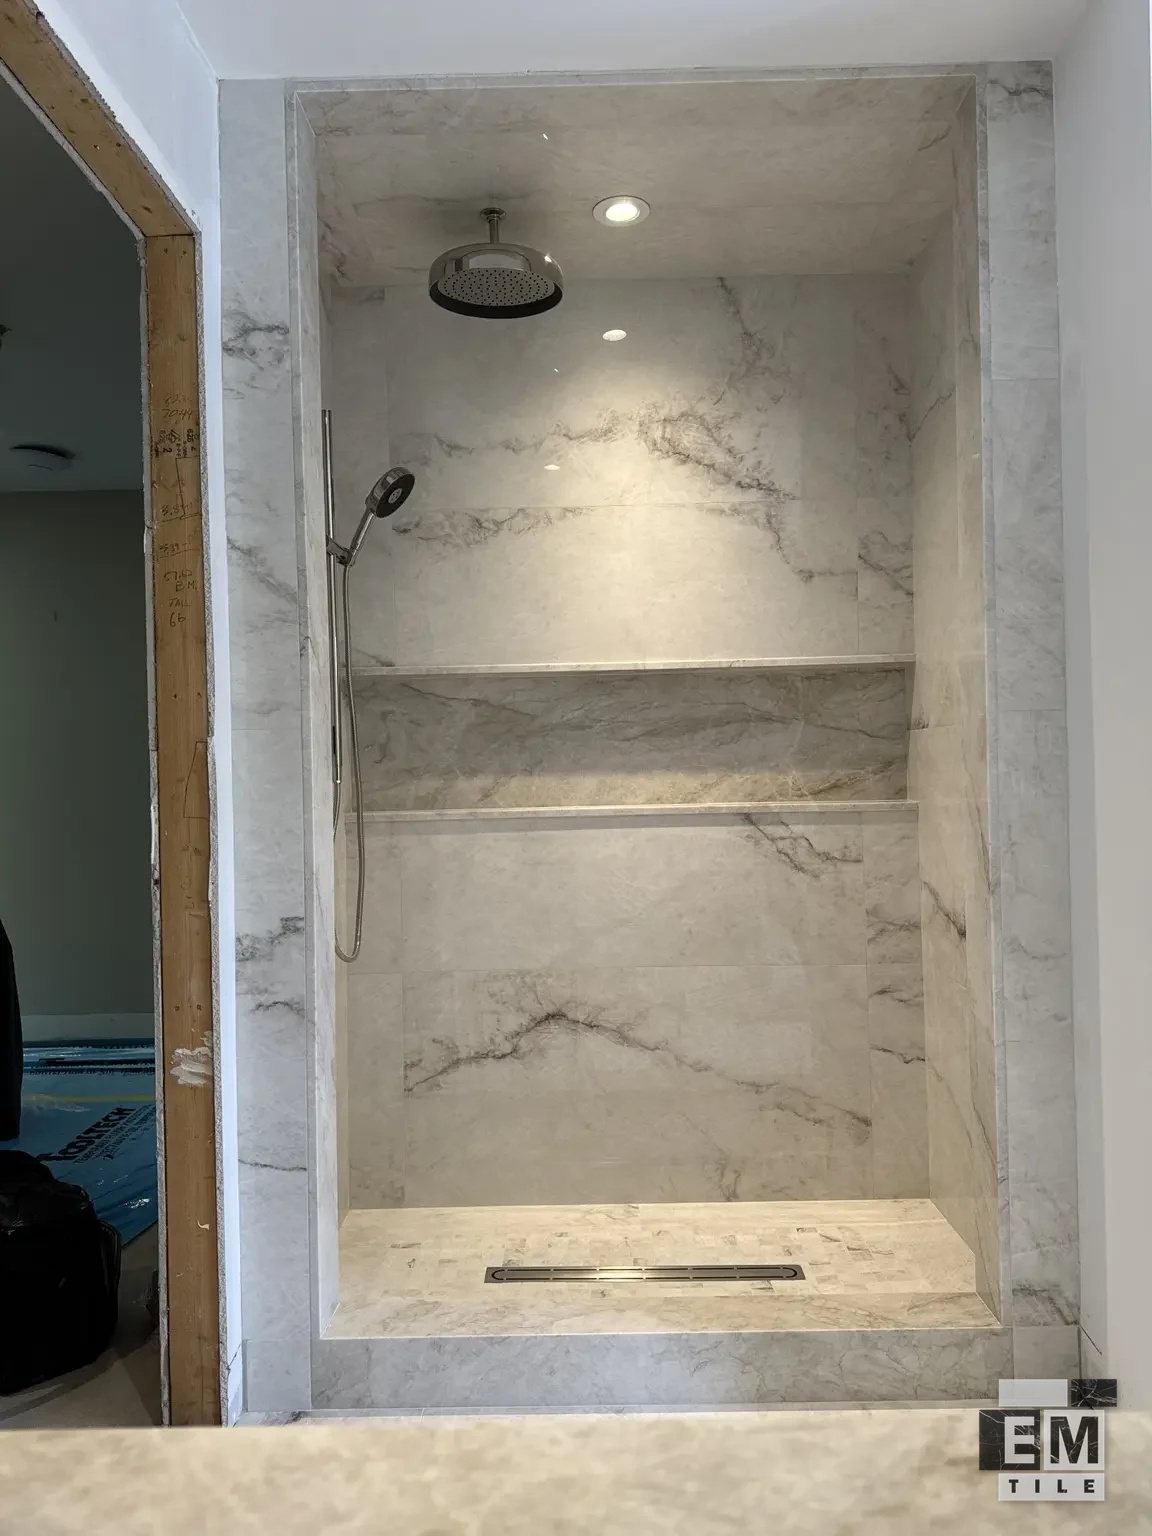
Begin with the room, not one wall
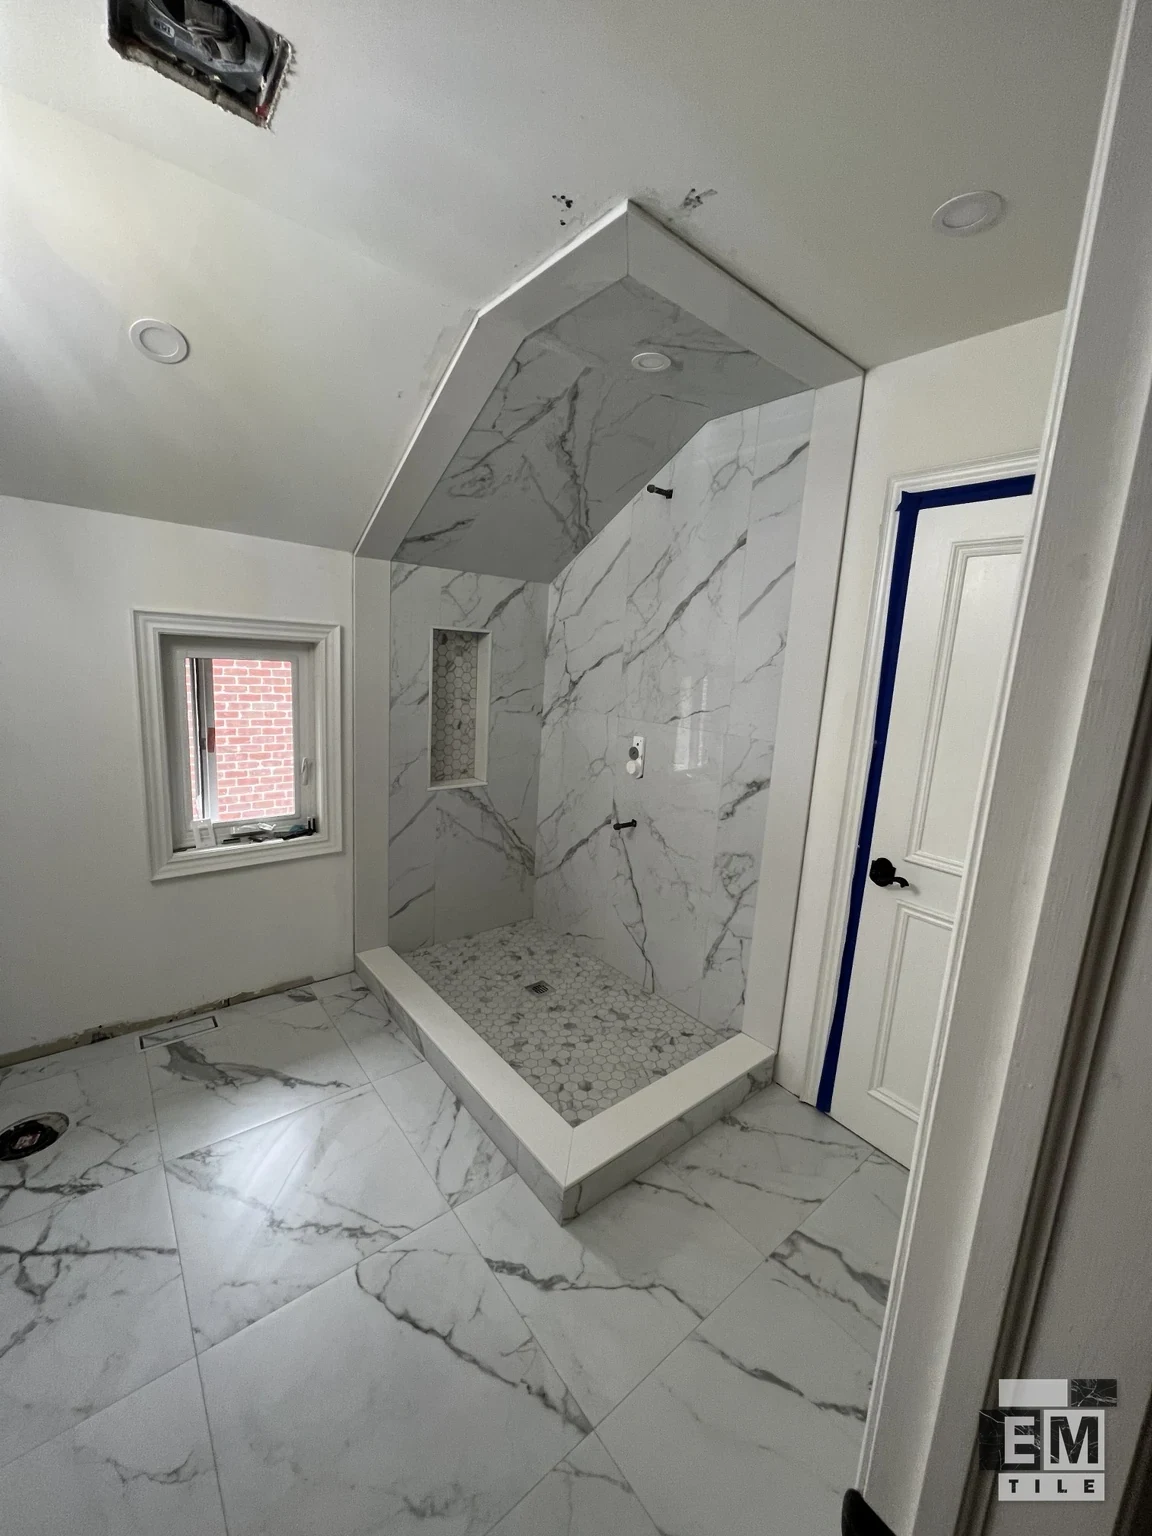
A shower wall can look straightforward on a drawing while the finished room contains a window, glass enclosure, vanity, towel fittings and several changes of direction. A useful plan shows those elements together. Mark the shower entrance, drain position and any recessed storage before choosing the starting point for the tile grid. For a bathroom floor, show the doorway and adjoining flooring as well. These relationships help identify narrow perimeter cuts and awkward transitions early.
Make the shower details part of the layout
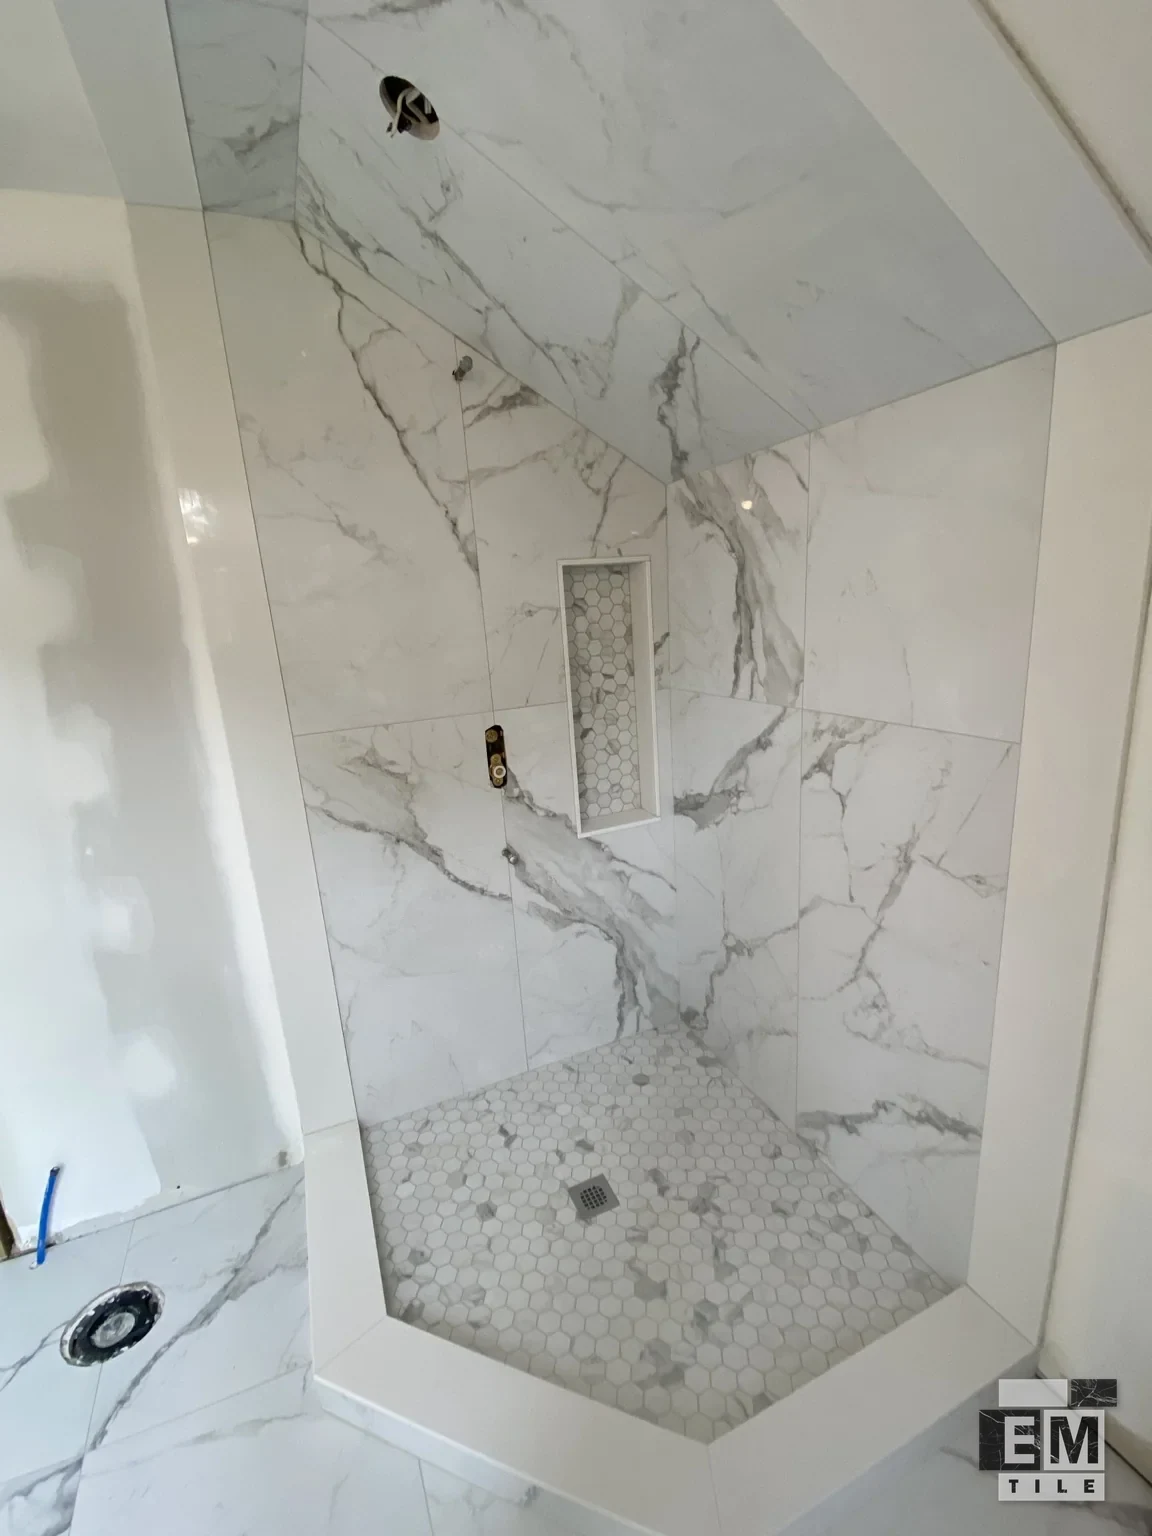
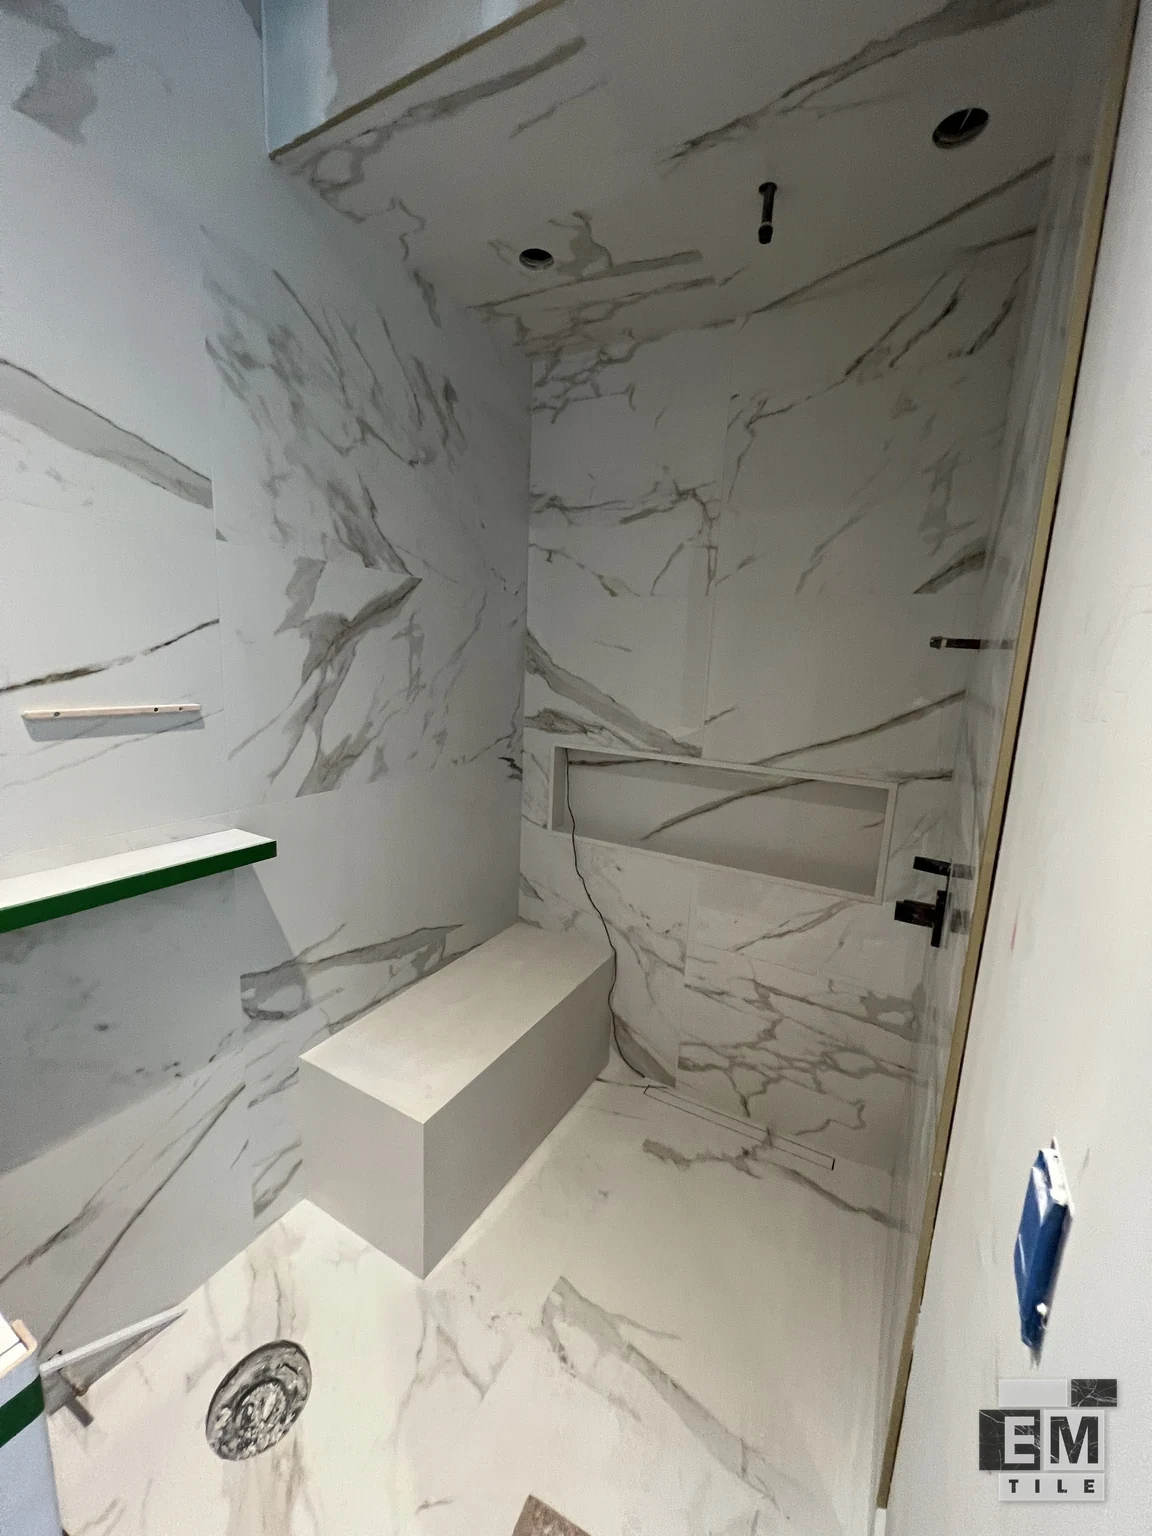
A niche interrupts the wall pattern, so its dimensions and elevation belong in the tile discussion before the finish is installed. The same applies to a bench, curb, ceiling or window return. A large tile may frame a niche neatly but create a thin cut near the shower door; smaller tiles can give more flexibility while introducing more joints. Consider the wall that is seen first from the room entrance, then check how its lines continue onto adjacent surfaces. A drawing showing both the desired appearance and actual fixture positions is more useful than an inspiration image alone.
Plan the waterproofing with the tile
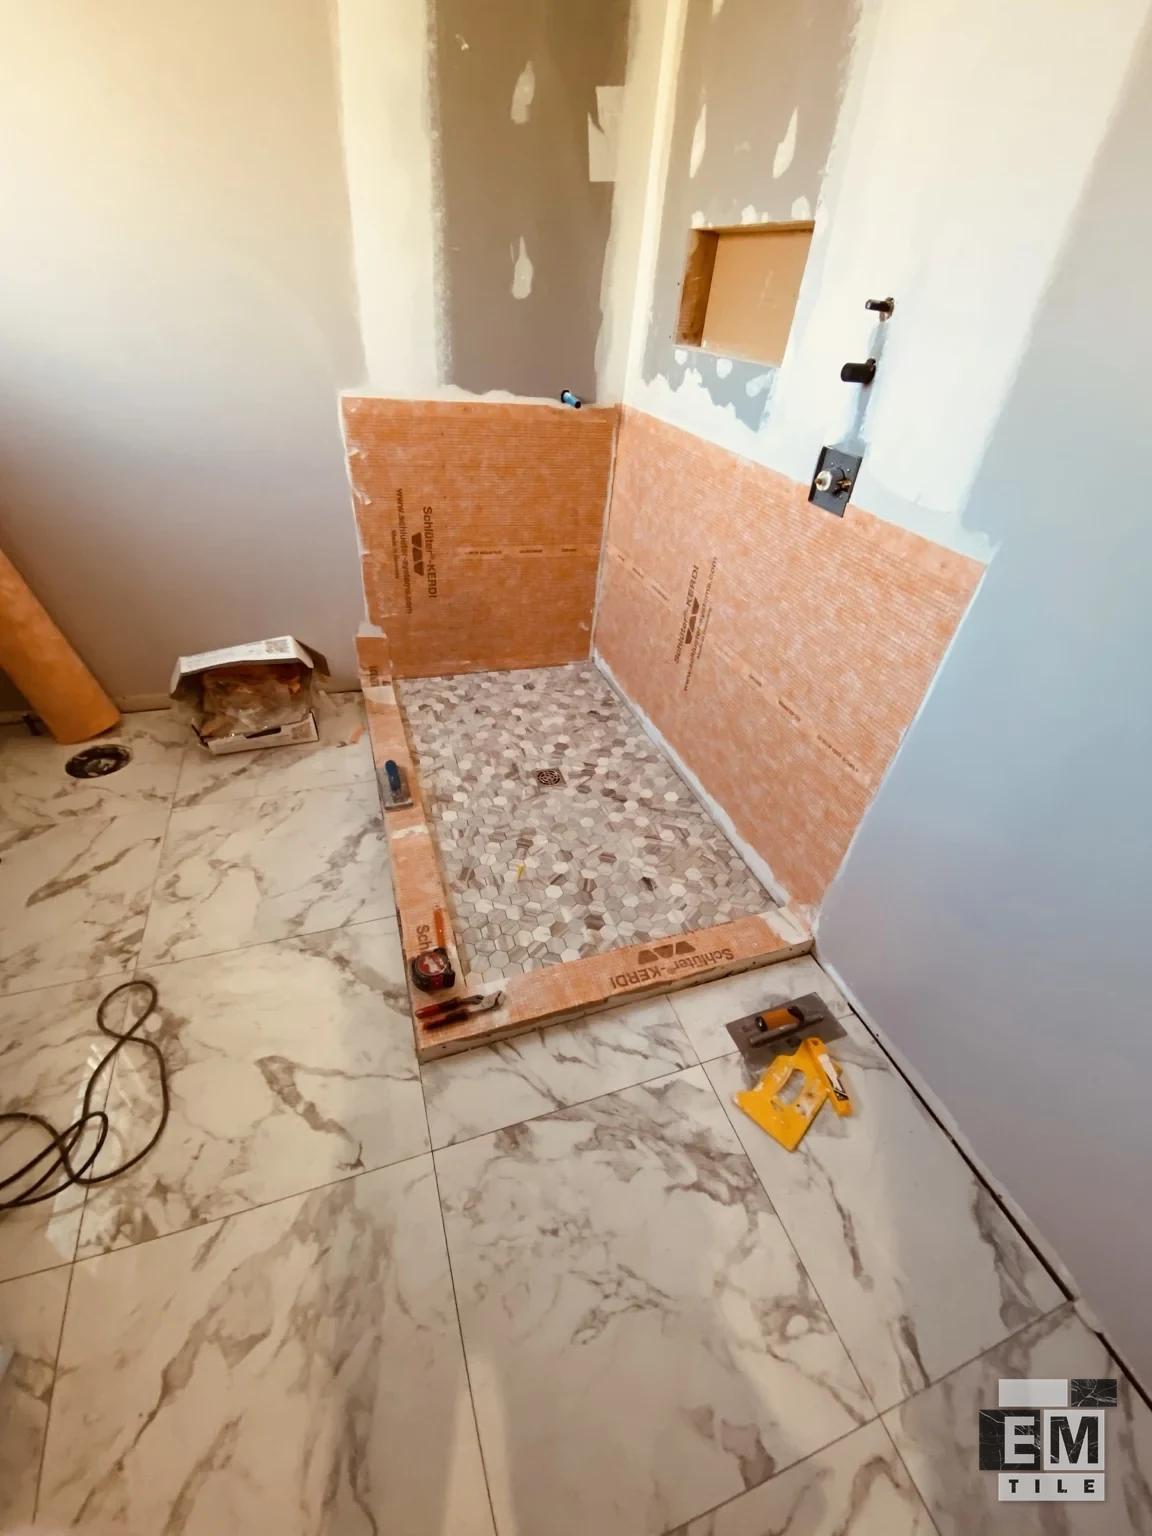
Waterproofing is planned beneath the tile and around the drain, corners, niches and other openings. Tile and grout form the visible finish; the membrane and its connections manage water within the shower assembly. For an existing room, tell us about leakage, staining or loose tile when you send photographs. Include the base, walls and fixtures in the same drawing so the preparation and tile work can be reviewed together. We install the KERDI, MAPEI and liquid waterproofing systems listed on our shower-waterproofing page. A flood test of the shower base is available on request. Mention it while planning the shower so the work sequence can include it.
Compare formats in the context of the bathroom
Porcelain and ceramic come in many shapes, including rectangular wall tiles, square floor tiles and mosaics. Natural stone adds variation that needs to be considered across neighbouring pieces. Large formats can reduce the number of visible joints on walls, while smaller pieces can suit a shower floor with changes in plane. The selected product still needs to be appropriate for its location. Bring its specification and finish information, not just a colour photograph. Grout colour, edge profiles and the visible joints around a bathtub or shower entrance all contribute to the final composition.
Review preparation and finishing separately
Installation planning includes the condition of the wall and floor, the intended tile layout, and the treatment of exposed edges. An uneven surface can change the preparation needed, especially with large tiles and strong directional lighting. A tiled floor also needs to meet neighbouring finishes without leaving an unexplained change in height. At finishing stage, discuss the grout appearance and the joints between different surfaces. A change of plane is different from an ordinary joint within a flat tiled wall. Defining these details avoids using one finishing approach indiscriminately throughout the bathroom.
Understand the factors behind an estimate
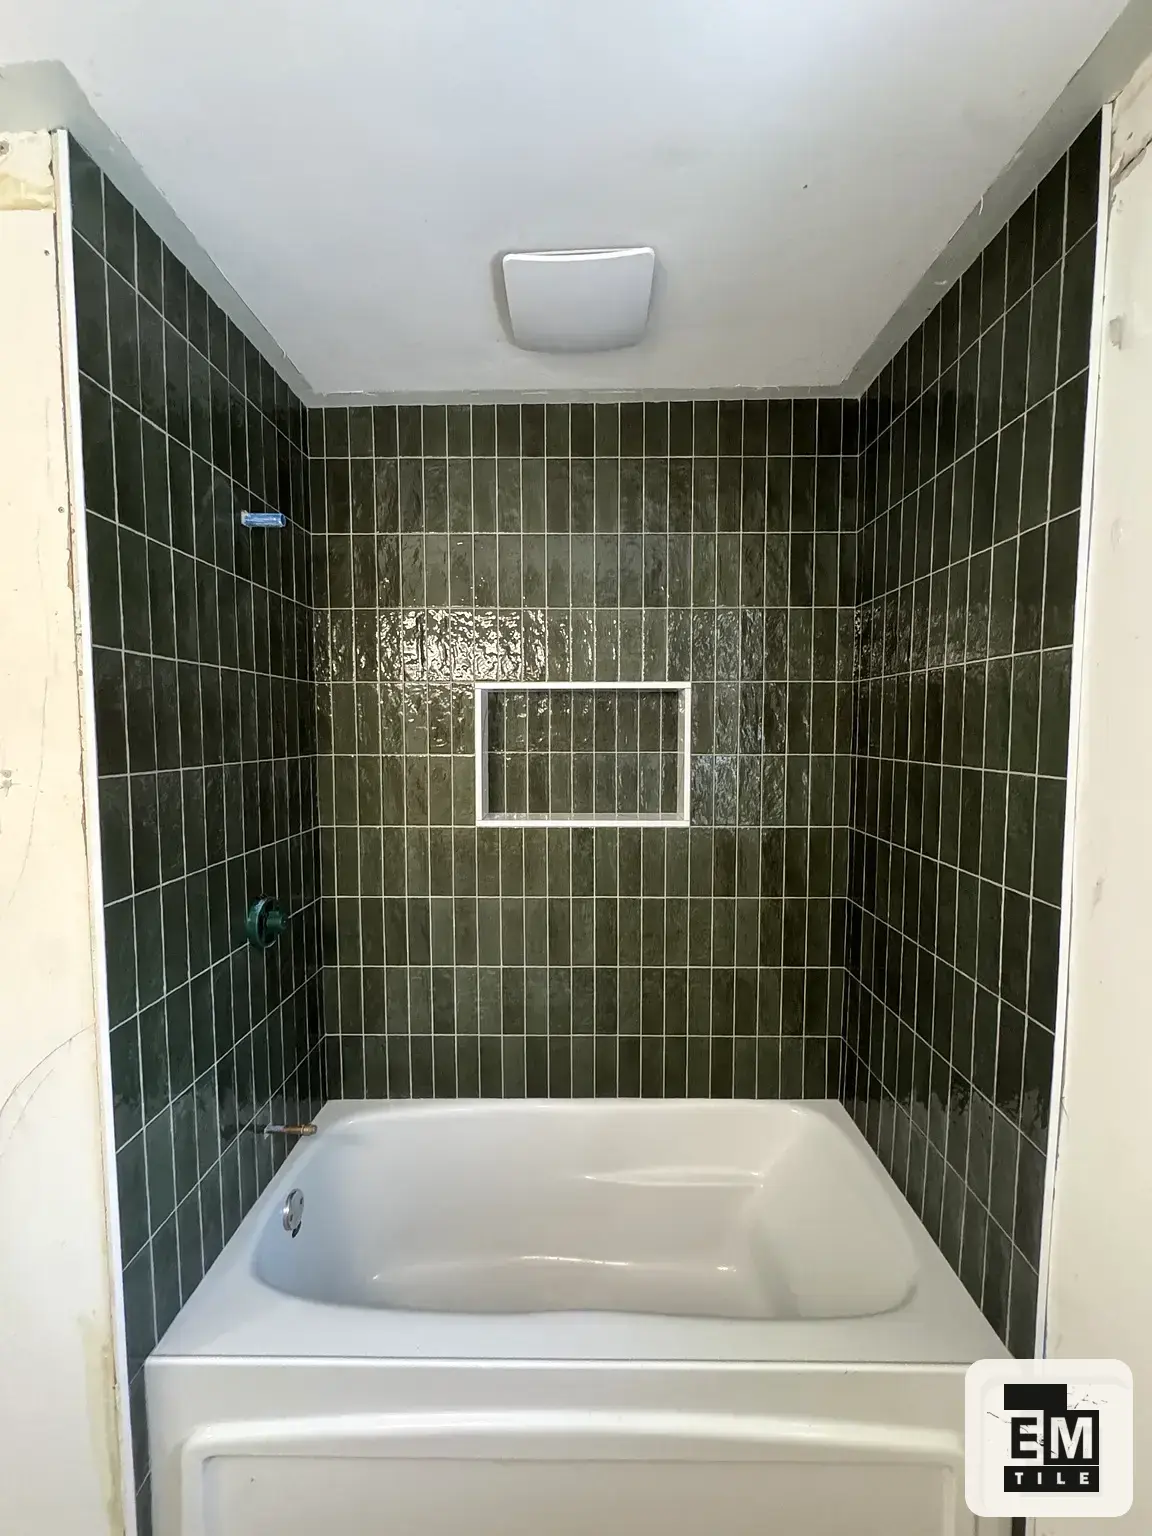
Two bathrooms with the same floor area can have very different tile scopes. A simple bathtub surround has different cuts and access needs from a shower with a niche, bench, mitred returns and tiled ceiling. Existing surface condition, tile dimensions, pattern complexity and edge treatment affect the installation discussion. Removal and disposal, if required, should be identified as separate scope items for confirmation rather than assumed to be included. No generic square-foot figure can describe all those conditions.
Prepare a useful bathroom enquiry
Photograph each wall, the bathroom entrance and the existing floor. Include approximate lengths and heights, a tile product link or box label, and a sketch locating the drain and fixtures. If you have selected a niche, bench or special pattern, show its intended position. For a shower that is already in progress, add photographs of the uncovered preparation before it is concealed. Mention stairs, parking or elevator arrangements relevant to access. EM Tile can use that information to discuss bathroom tiling in Toronto and the GTA without guessing at the parts hidden from view. Every installation comes with our Lifetime Workmanship Warranty for as long as the original client owns the home — see the full terms in our FAQ.
Shower systems and details we install
We install KERDI and KERDI-BOARD waterproofing assemblies, curbless shower floor-recessing systems using KERDI-SHOWER-FRS, linear drains including KERDI-LINE and KERDI-LINE-VARIO, and KERDI-BOARD-SNLT LED niches. The base, waterproofing, drain and niche are considered together as part of the shower plan. Explore our shower waterproofing systems for the full grouped product list.
Frequently asked questions
Why do shower floor and wall tiles need separate consideration?
The floor has drainage and footing requirements that a vertical wall does not. A tile that suits a feature wall may not suit the changes of plane on a shower base. Compare the product's intended use, surface finish and dimensions with the actual shower design before finalising the selection.
What is the advantage of planning a niche before tiling?
Early niche planning lets its outline relate to the wall grid and fixtures. It also allows its edges and internal surfaces to be considered as part of the wet-area assembly. Adding storage after the main pattern is established can make both the appearance and detailing more complicated.
What should I include in photos of my existing shower?
Send a wide view of the enclosure and close views of the base, corners, niche and any areas of leakage, staining or loose tile. Include measurements and a sketch of the changes you want so we can review the shower scope.
What should I compare when choosing a bathroom grout colour?
Look at the grout beside several tiles under the bathroom's lighting. A contrasting joint can emphasise the grid, while a closer colour can soften it. The effect is particularly noticeable with mosaics, small wall tiles and a strong patterned floor.
Why include the bathroom doorway in the measurements?
The doorway is where the new floor meets another finish and where many perimeter cuts are visible. Its location helps explain the floor layout, threshold treatment and access to the room. A floor-area total alone does not capture those details.
How long does bathroom or custom shower typically take?
Bathroom and custom shower installations typically take 1–2 weeks. We confirm the final schedule after a site review of the room and shower scope.
Google reviews
What clients say
I'm absolutely in love with my new bathroom! EM Tile did an amazing job from start to finish. They were fast, precise, super detail-oriented, and incredibly clean. …
Tell us about your project.
Serving Toronto, Etobicoke, North York, Mississauga, Vaughan, King City, Scarborough, Oakville, Burlington and Milton.
Request a quote ↗