
TORONTO · ETOBICOKE · GTA
Porcelain Slab & Large-Format Tile Installation Toronto
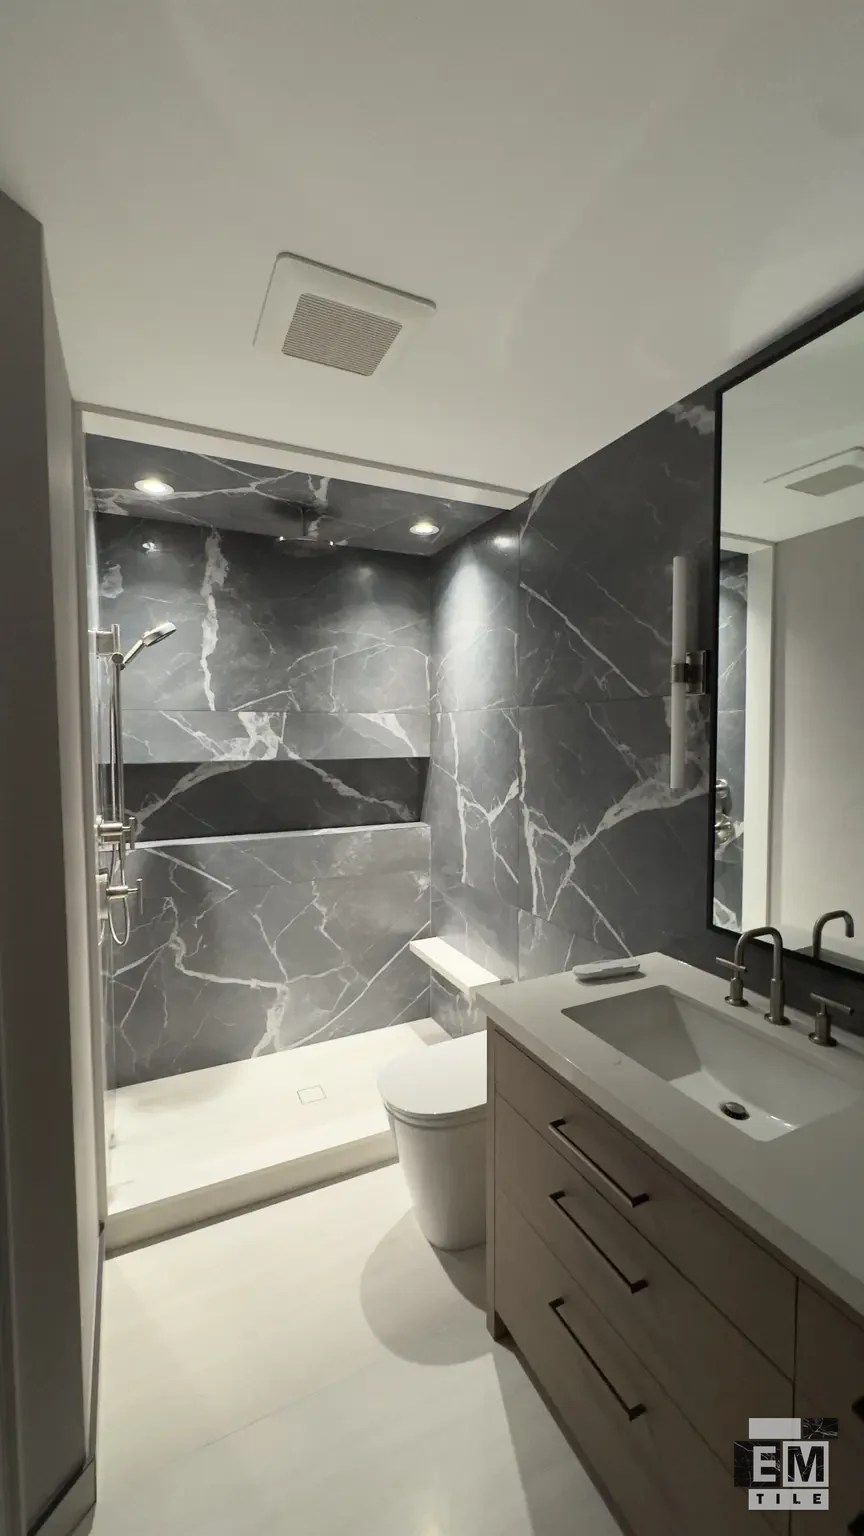
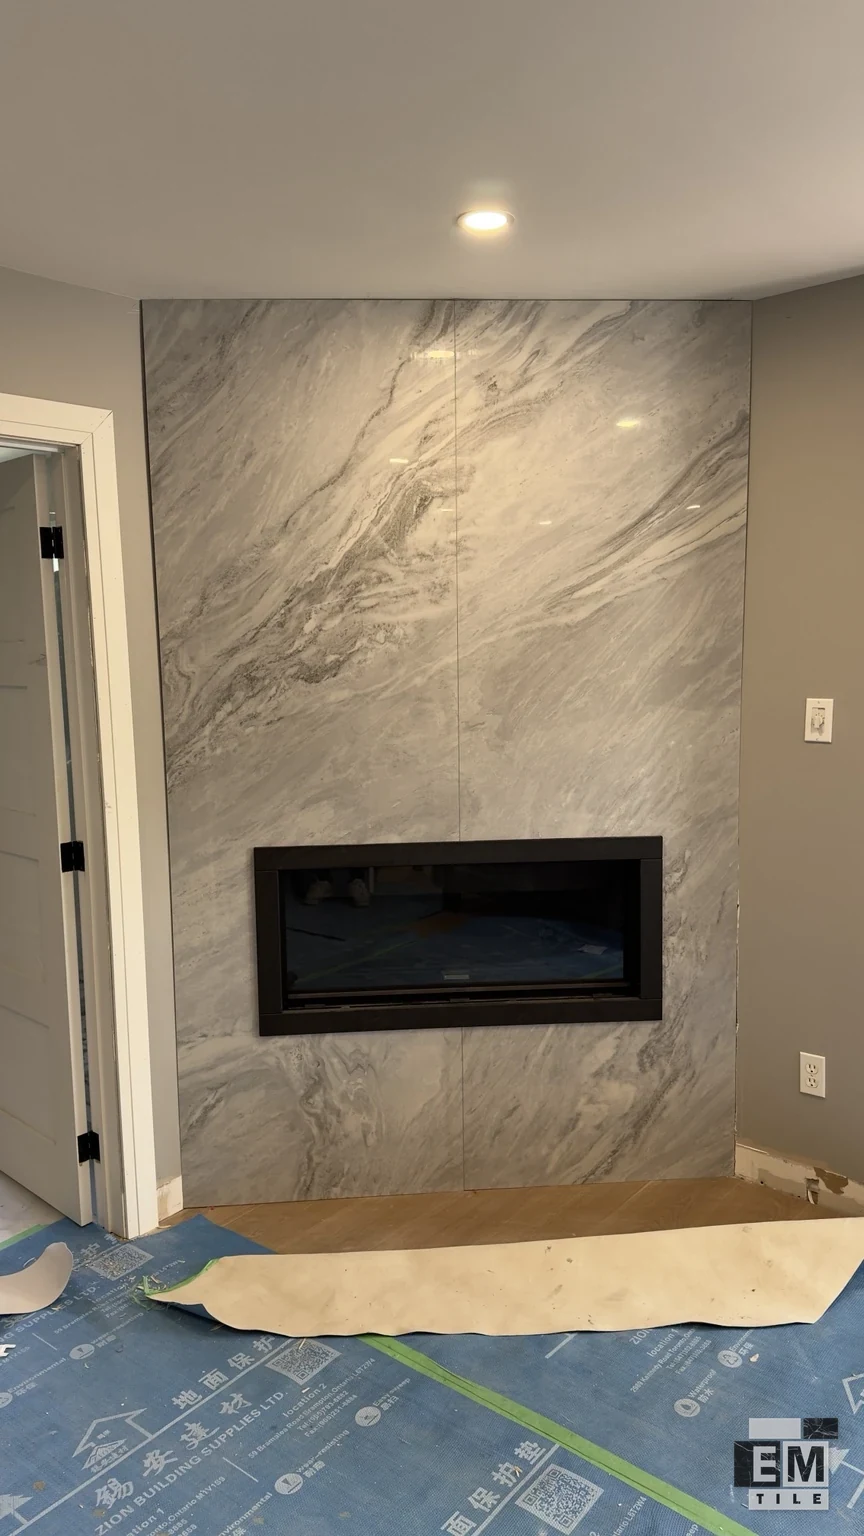
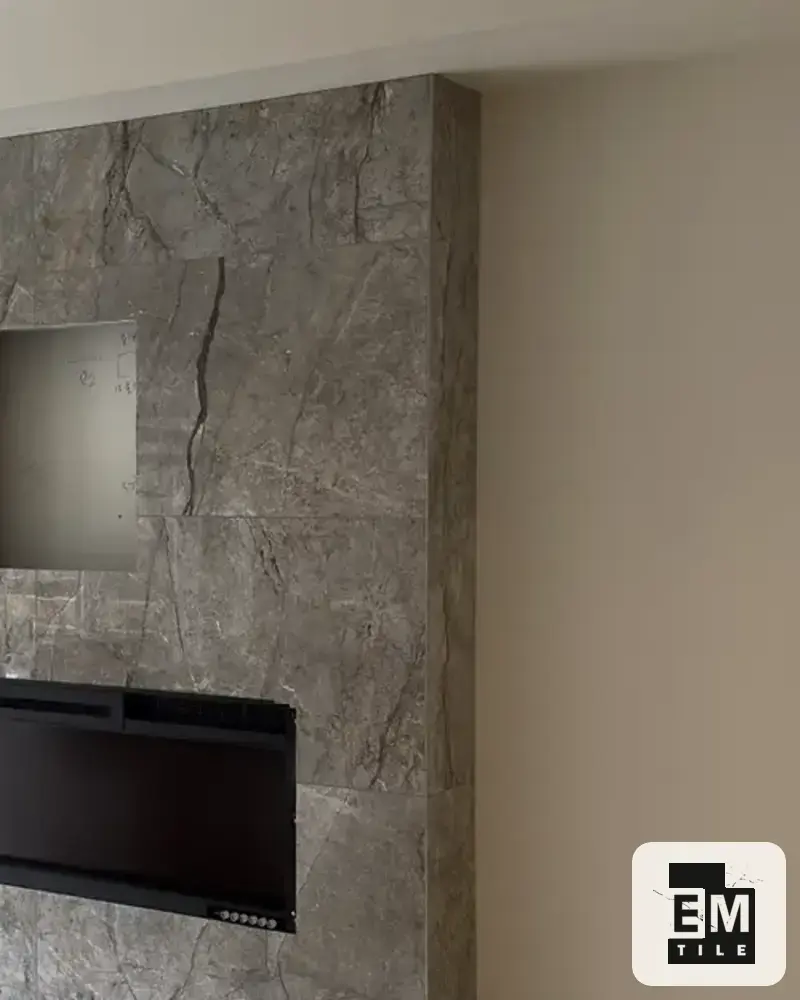
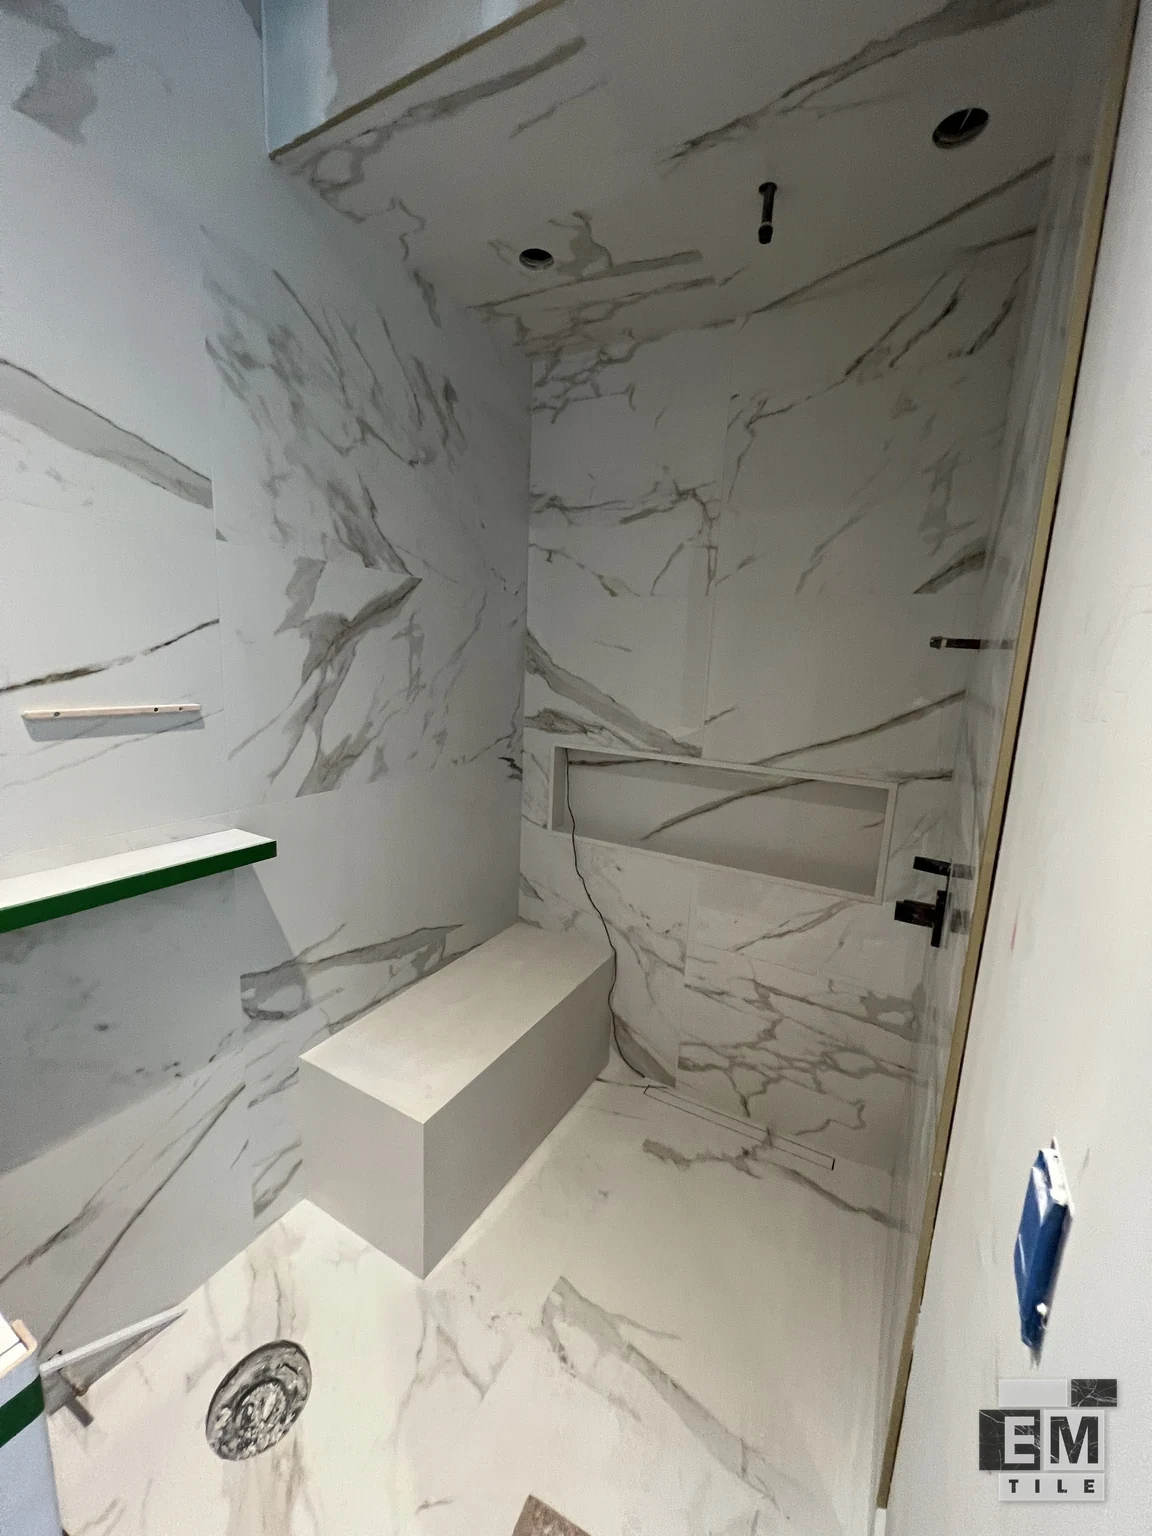
Large-format porcelain makes joint positions, vein direction and edge details especially visible. EM Tile discusses porcelain slab and large-format tile projects in Toronto and the GTA, including shower walls and fireplace features. Send the exact panel dimensions and thickness before planning the installation. Material suitability and handling requirements need to be assessed for the particular product and property; the word slab alone does not define the scope. Explore our Etobicoke slab and bathroom projects for local finish and layout examples.
Discuss your project ↗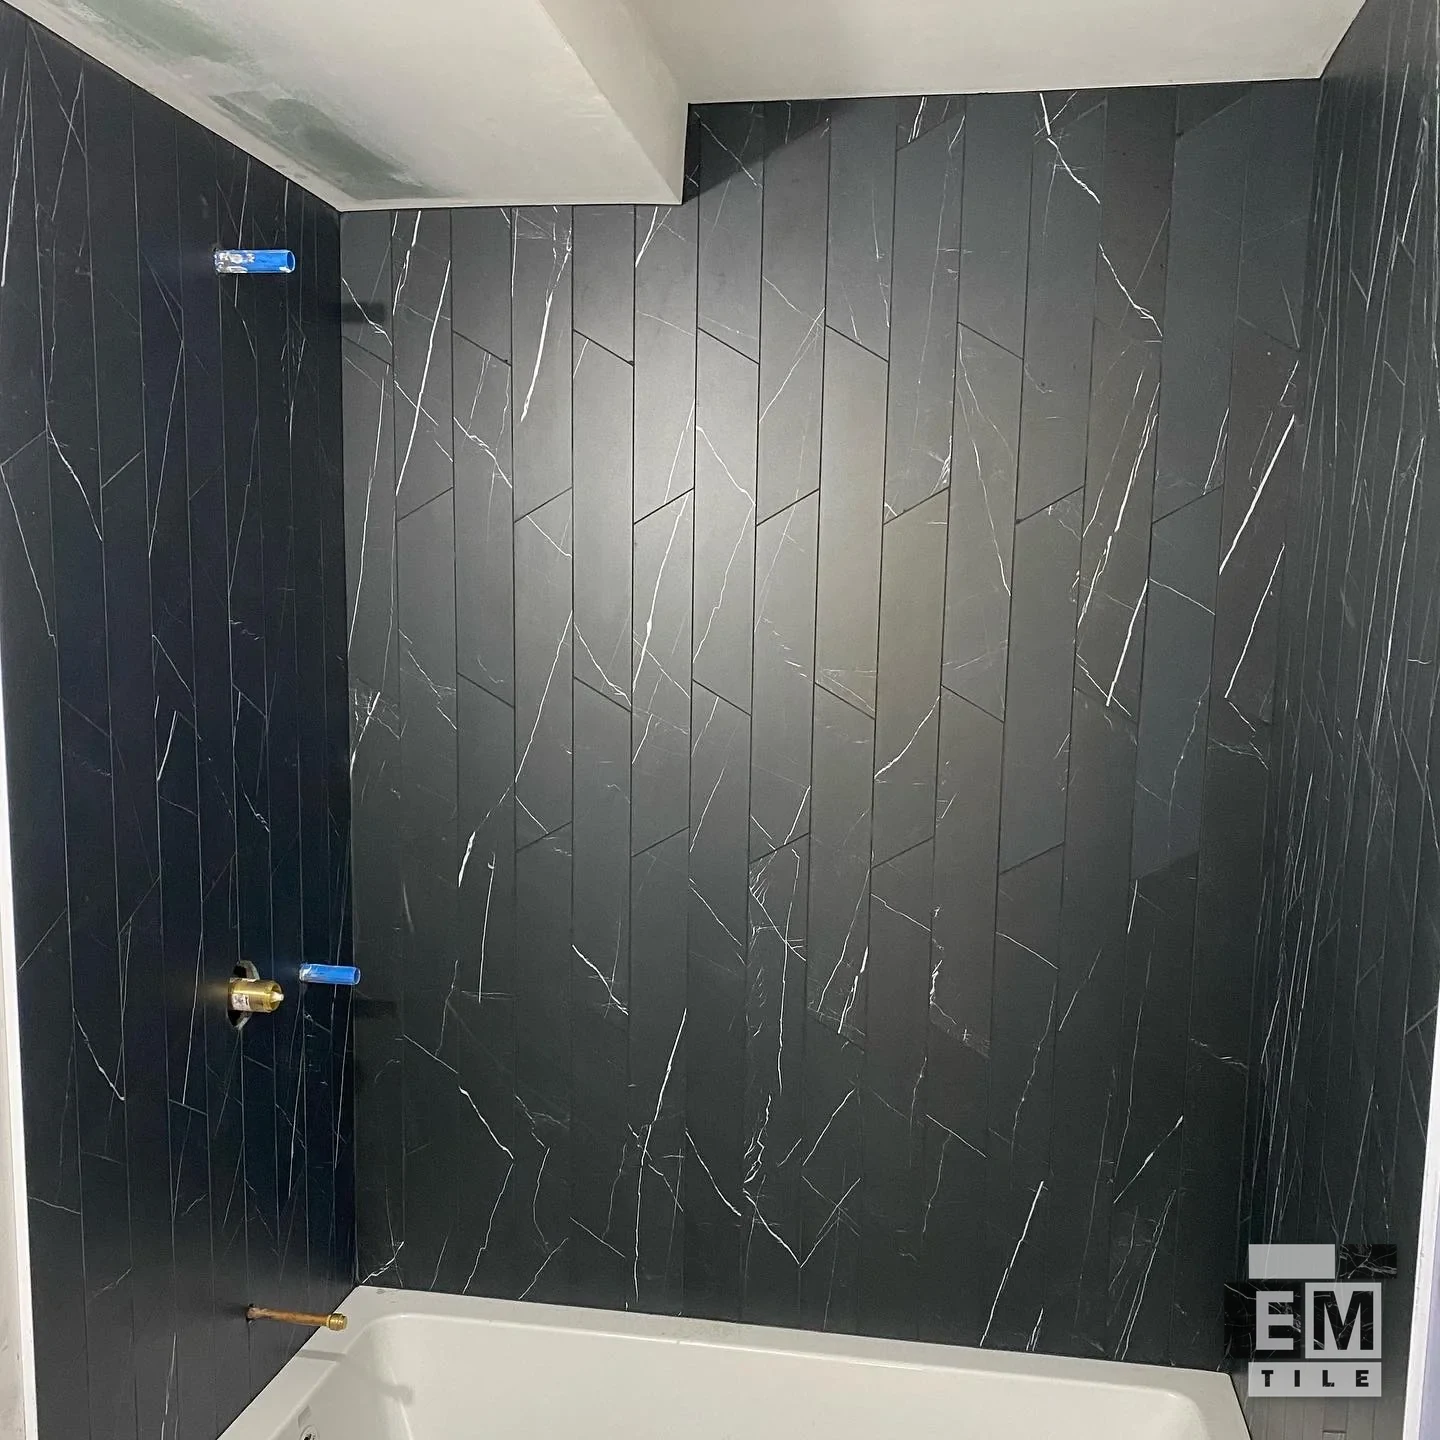
Begin with a panel map rather than a tile count
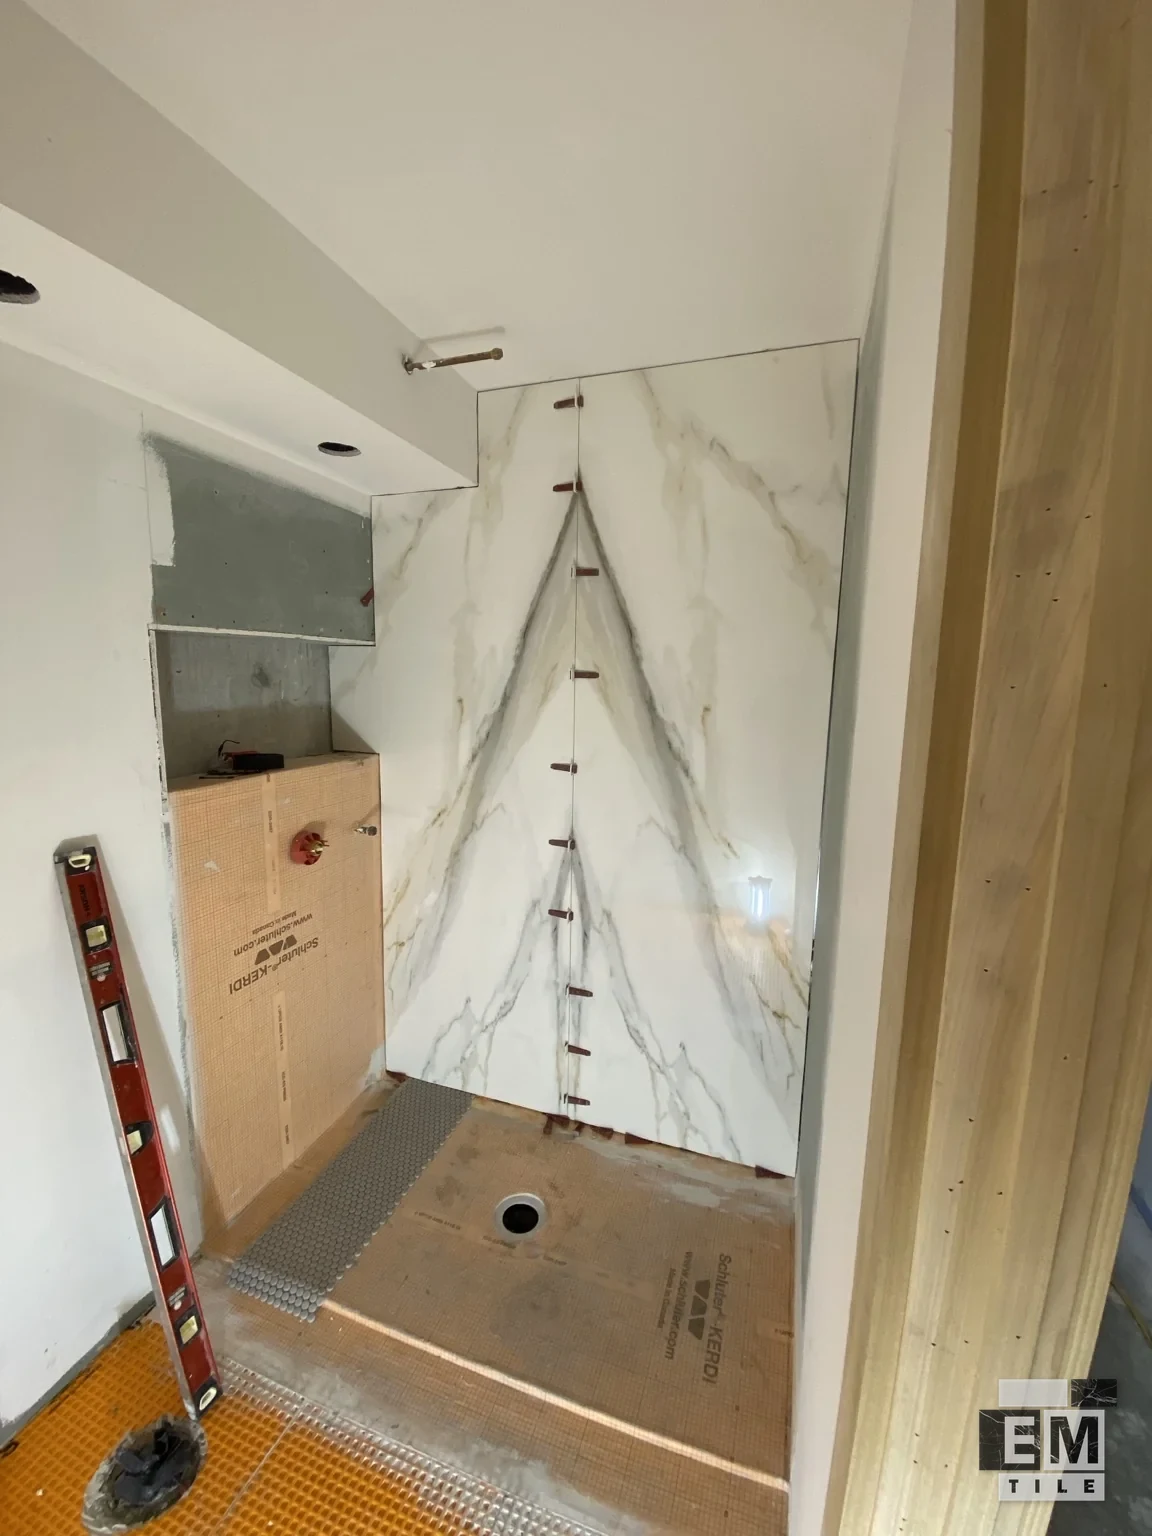
A slab layout needs to show where each panel begins and ends. Mark openings, corners, niches and the most prominent sight line before dividing the wall into pieces. A joint placed for convenience can interrupt a strong vein pattern or land close to a fixture. Sketch the proposed arrangement using the actual panel dimensions rather than assuming that every wall can be covered in one piece. The useful question is how the material fits the architecture. That includes any returns into a shower entrance or around a fireplace, not just the broad front-facing surfaces.
Review veins and neighbouring faces together
Marble-look porcelain can have directional markings that change the impression of the whole wall. Rotating a piece may alter the way a vein continues across a joint. Review the available faces in the chosen product when planning a bookmatched effect. Photograph or identify the selected slabs before the final arrangement is agreed. Consider the visible sequence from the main room entrance and from within the shower. These two views can emphasise different parts of the same surface.
Describe delivery access and working space
The route to the installation area is part of the assessment for large panels. Door widths, stairs, elevator dimensions and turns in a hallway can matter alongside the wall measurements. Include photographs of that route and any access restrictions in the project enquiry. Material thickness, panel weight and the location of openings also affect handling. Acceptance of a particular product should be confirmed before delivery or other work is committed around it. Confirm the acceptable size and thickness for the actual installation before ordering panels or arranging their delivery.
Treat preparation as a separate stage
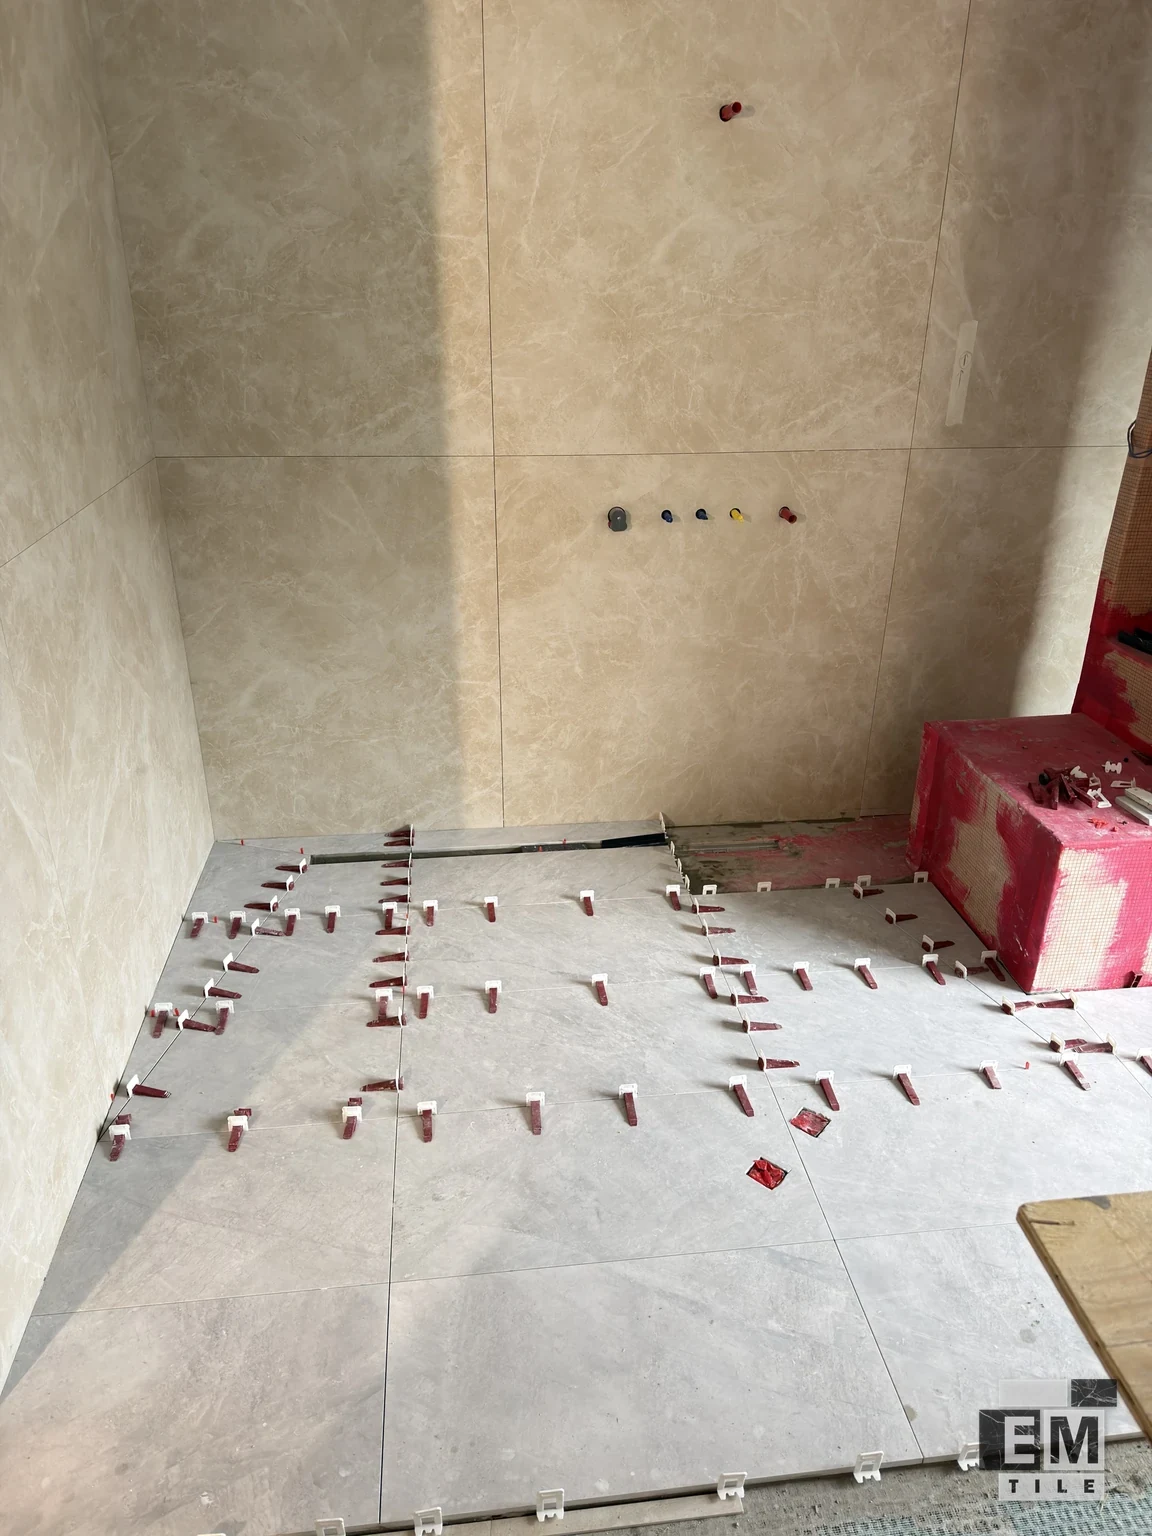
A large piece reveals changes in the supporting surface over a broad area. The wall or floor needs to be assessed for the intended assembly before setting work is defined. In a shower, the substrate and waterproofing connections belong in that review even though the finished panels may hide most of them. Strong lighting can make an irregular plane particularly noticeable. Share photographs before the surface is covered when possible. Specifying a large-format finish does not remove the need to understand what supports it, how the surfaces meet, or where movement must be accommodated.
Identify returns, mitres and cutouts early
A broad flat panel differs from a surround with an outside corner, deep return or recessed niche. Edge construction influences the visual thickness and how neighbouring surfaces join. Fixture openings also need accurate positions and product information before they are incorporated into the layout. A mitred detail should therefore appear on the drawing as a deliberate part of the design, rather than a last-minute expectation. The same applies to shelf pieces, shower jambs and fireplace openings.
Assess the finish for its intended location
Porcelain slabs and large-format tiles are available in many finishes, but suitability depends on the product and application. A wall finish is not automatically the right choice for a floor or a heated fireplace surround. Wet areas add assembly requirements that a dry feature wall does not have. Obtain the product specification and any appliance or design information that affects the location. Coordinate the decorative finish with those constraints rather than choosing solely by appearance.
Give a slab enquiry enough detail to be useful
Provide wall dimensions, panel size and thickness, a product link, a proposed layout and photographs of the space. Include niches, benches, ceilings, corners and all openings that are part of the request. For a fireplace, add the appliance model and the available surround information. For a bathroom, identify the floor finish and the location of glass or fittings. Explain delivery access and whether the substrate is exposed or already prepared. Every installation comes with our Lifetime Workmanship Warranty for as long as the original client owns the home — see the full terms in our FAQ.
Frequently asked questions
Is a large-format tile the same as a porcelain slab?
Those terms are often used for different product ranges. Panel size, thickness, backing and handling requirements still need to be identified individually. Use the manufacturer's product description and dimensions when requesting an installation assessment rather than relying only on the category name.
What is a bookmatched wall effect?
It is a planned arrangement in which neighbouring faces create a mirrored or related vein pattern. The effect depends on the specific pieces available, their orientation and the joint position. A random pair of marble-look panels does not necessarily produce a bookmatch.
Why are access photographs useful for a slab project?
A panel has to travel from the delivery point to its final location. Narrow doorways, stairs and corners can affect that route. Access photographs and dimensions help explain constraints that a photograph of the finished wall area cannot show.
What should a drawing show around a recessed niche?
Include its width, height, depth and position, together with the intended edge finish. The niche interrupts the panel and introduces additional internal surfaces. Showing it on the panel map helps relate its opening to the surrounding joints and veining.
Can fewer joints replace a shower waterproofing system?
A shower still needs waterproofing beneath the panels, even when its surface has fewer joints. The shower still needs appropriate water management beneath the finish and around its connections. Panel installation and waterproofing must be considered as related but distinct parts of the work.
How long does porcelain slab installation typically take?
Porcelain slab installation has no fixed typical duration: panel coverage and the project scope determine the schedule. We confirm the final timeline after reviewing the slab project and site.
What porcelain slab sizes and thickness do you install?
We install porcelain slabs in all standard sizes, at 6 mm thickness.
Tell us about your project.
Serving Toronto, Etobicoke, North York, Mississauga, Vaughan, King City, Scarborough, Oakville, Burlington and Milton.
Request a quote ↗